Indian Organic Manure: VERMICOMPOST
HOW TO MAKE IT?
A brief
Vermicompost is a type of organic manure that is produced by earthworms. It is rich in nutrients and beneficial for plants and soil. To make vermicompost at home, you will need a worm bin, bedding, worms, and food scraps.
Learn more about Organic Manure.
Here are the basic steps to follow:
STEP 1
Prepare a worm bin or you can buy it at any agricultural store. Use a plastic or wooden container with holes for air circulation and drainage. Make sure it has a lid and is opaque to block light.
The size of the bin depends on how much vermicompost you want to produce and how much space you have. A 100 liter bin can hold about 1 Kg of worms and process about 1/2 Kg of food scraps or organic waste per day.
STEP 2
Find a spot for the worm bin. The ideal location is indoors, away from direct sunlight, heat, or cold. The temperature should be between 14 – 24 degree Celsius.
STEP 3
Prepare the bedding for the worms. You can use shredded cardboard, coconut coir, dried leaves, or straw. The bedding should be moist but not soggy, fluffy but not compacted, and fill about three-quarters of the bin.
Bedding should provide a habitat for the worms and help retain moisture and air.
STEP 4
Add the worms to the bin. You can buy worms online or from a Agri store. The best worms for vermicomposting are red wigglers, which are small, red-brown, and voracious.
You will need about 1/2 Kg of worms for every 2 square feet of bin surface. Sprinkle the worms on top of the bedding and let them burrow down.
STEP 5
Feed the worms with food scraps. You can use fruit and vegetable peels, coffee/tea grounds, bread, grains and millets etc.,
Do not use meat, dairy, oily, spicy, or salty foods, as they can attract pests and cause odors.
Chop the food scraps into small pieces and bury them under the bedding in different spots.
Feed the worms once or twice a week, or whenever the previous food is gone from the bin.
Do not overfeed the worms.
STEP 6
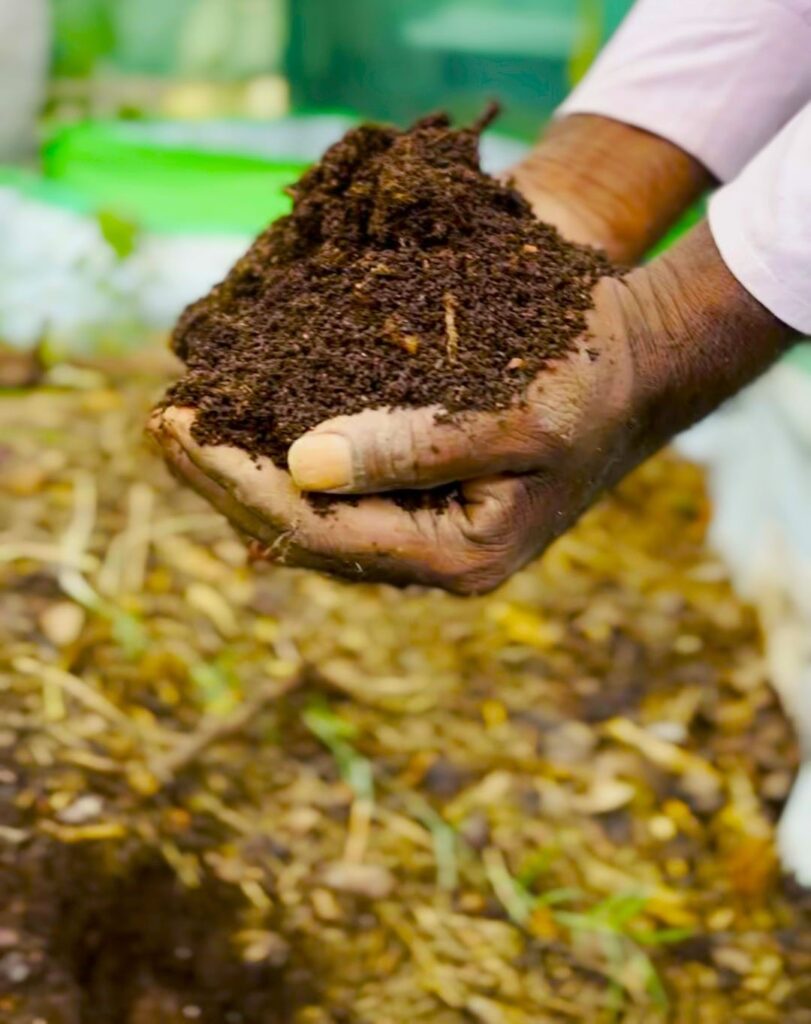
Harvest the vermicompost. After a few months, you will notice that the bedding has turned into a dark, crumbly, and earthy-smelling material. This is the vermicompost, which contains worm castings and decomposed organic matter.
Scoop out the vermicompost from one side of the bin and move the worms and the remaining bedding to the other side. Add fresh bedding and food scraps to the empty side and let the worms migrate there. Repeat the process until you have harvested all the vermicompost.
Dump the contents of the bin onto a large sheet of plastic or newspaper. Make several piles and expose them to light. The worms will move to the bottom of the piles to avoid the light. Remove the vermicompost from the top of the piles and collect the worms from the bottom. Return the worms to the bin with fresh bedding and food scraps.
Use a screen or a sieve to separate the vermicompost from the worms and the bedding. Shake the screen or the sieve over a bucket or a tray and let the vermicompost fall through. Pick out the worms and the bedding and return them to the bin with fresh bedding and food scraps.
Or, you can add them to your farm land to grow naturally.
Benefits of Vermicompost
- It is rich in nutrients, such as nitrogen, phosphorus, potassium, calcium, magnesium, and other micronutrients that plants need to grow and thrive.
- Improves the soil structure, water retention, and aeration, making it more fertile and healthy.
- Enhances the microbial activity and diversity in the soil, which helps in decomposing organic matter, fixing nitrogen, solubilizing phosphorus, and suppressing pathogens and pests.
- Increases the crop yield and quality, as well as the resistance to drought, diseases, and pests.
- Reduces the need for chemical fertilizers and pesticides, which can harm the soil, the plants, and the environment

We hope this helps you make your own vermicompost at home or your farm and helps you move towards organic sustainable farming.
HAPPY FARMING!

